
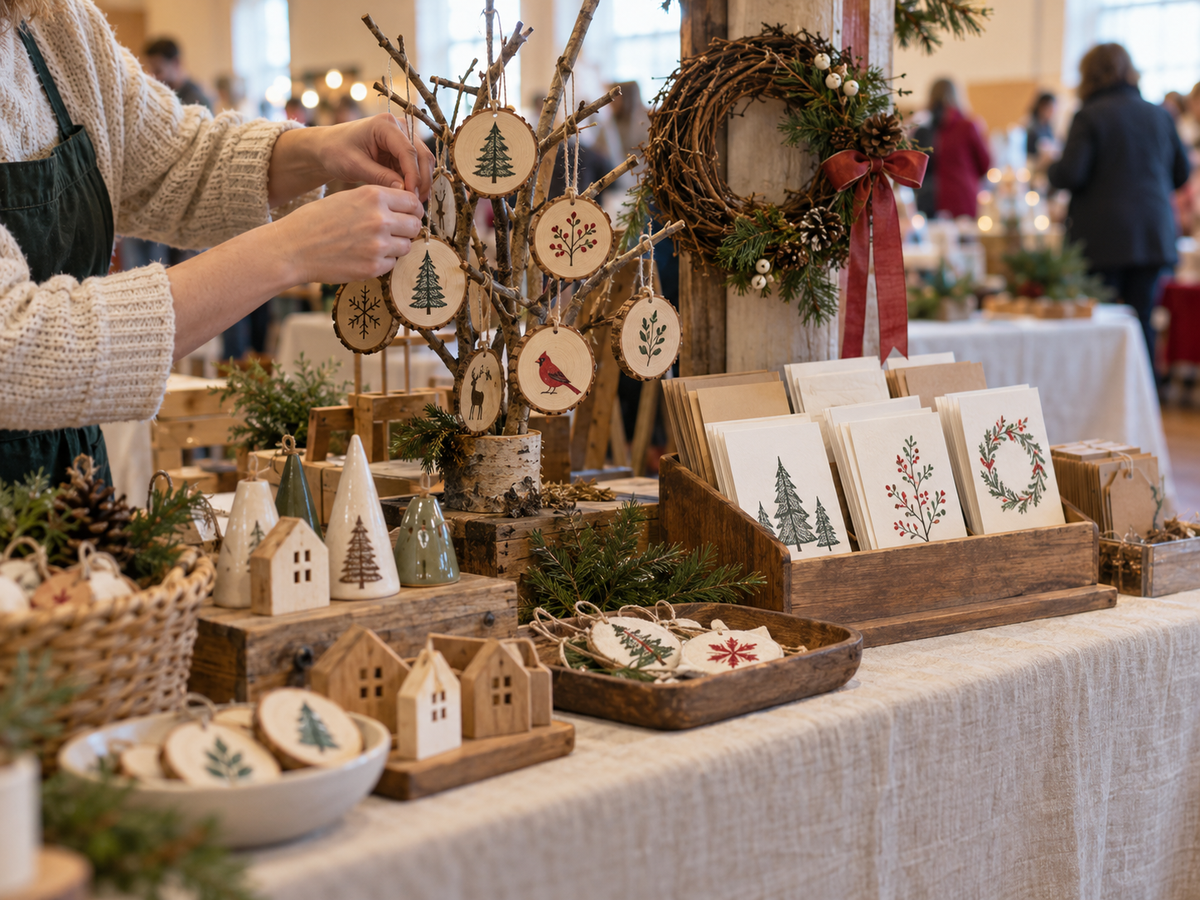
A handmade ornament that takes 45 minutes to finish can eat up your Saturday and leave you with six dollars after supplies. I’d start with a craft you can make in batches, photograph well and price without guessing how long it took.
Table of contents
- What I’d make first with a small supply budget
- Christmas ornaments worth making in small batches
- Christmas decor that works better at a local craft fair
- Useful handmade gifts people can keep using
- Paper crafts with low shipping weight
- Price the craft before buying twenty more blanks
- Photos, deadlines and where to sell
- Questions I’d settle before making more stock
- Make three samples before the weekend
The best Christmas crafts to make and sell for a small first shop are lightweight ornaments, useful fabric gifts and paper goods. Small wreaths can work at local markets, too. I’d leave big wood signs and custom painted furniture alone unless you already have the tools and buyers.
There are 35 ideas here, with honest notes about who they’re suited for and what usually makes them harder than they look. Check local material prices before committing to a batch. For the first weekend, make three samples of one item and see whether anyone wants to buy them.
What I’d make first with a small supply budget
If you’re starting with around $50 for supplies, choose one craft family and buy only enough for a few finished products. A set of plain wooden rounds, paint pens, ribbon and basic packing materials gives you room to test ornaments. A person who already sews could put that money into cotton fabric for reusable gift bags instead.
I’d put the finished samples in front of potential buyers before making 40 pieces. Ask people to choose between two colors or name styles. A compliment is nice; a paid order tells you more.
Here is a quick way to narrow the choices:
| If you already have… | Try making… | Best first place to sell |
|---|---|---|
| Paint pens and scissors | Wood-slice ornaments | Local pickup or a craft market |
| Needle and scrap fabric | Felt ornaments or small gift bags | Local market |
| Crochet hooks and yarn | Mug sleeves or ear warmers | Friends, community groups |
| Printer and paper cutter | Gift tags or card packs | Local orders or Etsy |
| Wood scraps and basic tools | Mini painted village houses | In-person holiday stalls |
Anything personalized needs extra time for spelling checks and customer messages. Leave room for that in the price, particularly once orders get close to December.
Christmas ornaments worth making in small batches
1. Hand-lettered wood-slice ornaments
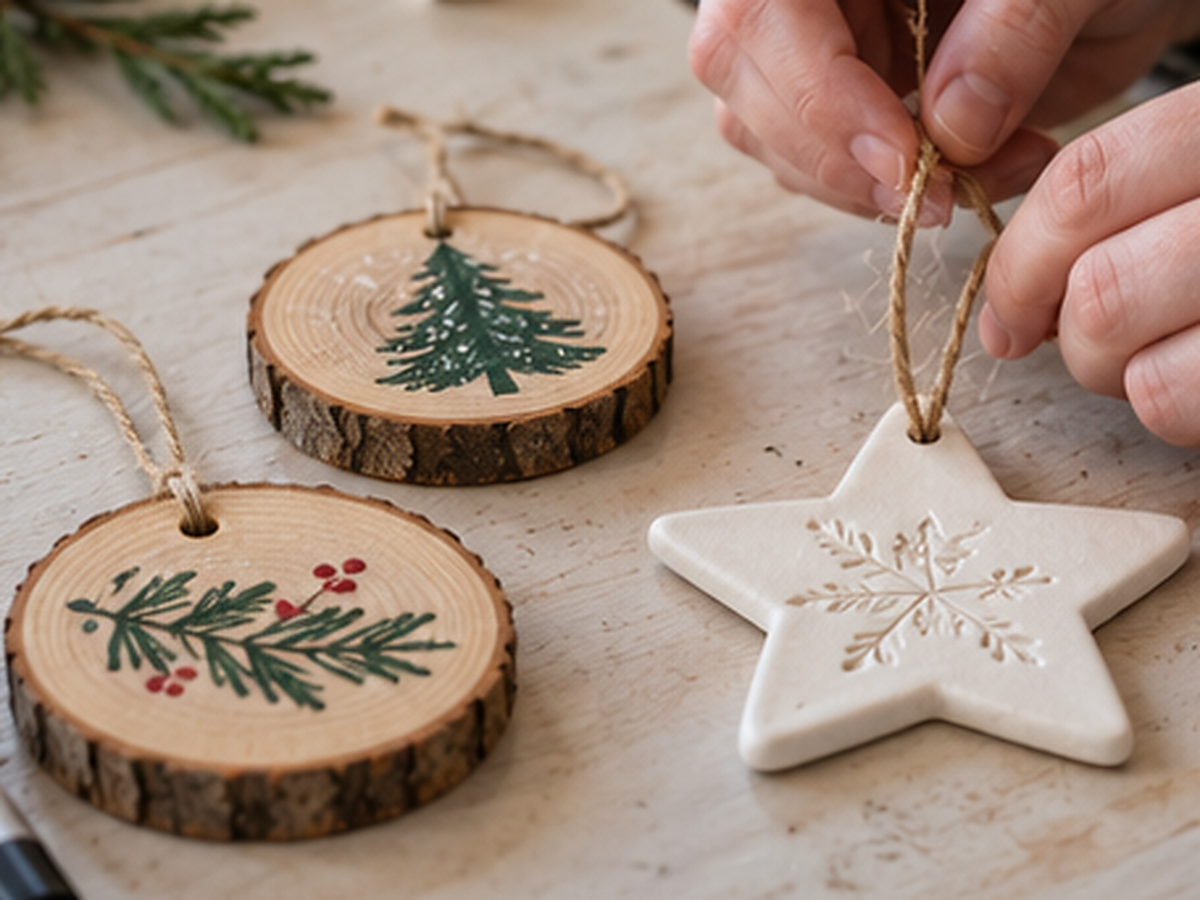
Use unfinished wood rounds with hanging holes, a fine paint pen and ribbon. Sand any rough edges, write a name or family date, and seal the lettering only after the ink has dried. Set the pieces on a baking rack or clean newspaper so they don’t stick to the table.
These suit beginners who have steady handwriting. Test a single sample before taking ten custom orders; wood grain makes thin letters harder to read. Try a simple asking price that covers materials and at least 10 to 15 minutes of work, then compare it with nearby sellers.
2. Stamped air-dry clay ornaments
Roll air-dry clay to a consistent thickness, press a leaf or original stamp into it, and cut circles or stars with a cookie cutter reserved for crafts. Make the hanging hole before the clay hardens. Follow the package drying instructions before painting or packing.
They look tidy in a set of three, but thick clay can crack and thin corners break in shipping. I’d sell these locally until I had tested the packaging. Baking clay that is meant to air-dry can spoil a whole batch, so read the actual product instructions.
3. Mini embroidery hoop ornaments
A small embroidery hoop holds a stitched initial, simple tree outline or short word on cotton fabric. Cut the cloth with extra room around the edge, stitch the motif, stretch it in the hoop and finish the back neatly.
You need basic embroidery skills, but the materials are compact and easy to store. I’d offer two thread colors and one lettering style at first. Personalized initials become slow work when every buyer chooses a completely different design.
4. Scrap-fabric stuffed stars
Cut two matching star shapes from cotton scraps, sew around the edges, turn right-side out, add a little stuffing and close the opening. A short fabric loop makes the hanging tab. You can cut ten pairs at once and sew them in one sitting.
The fabric can come from offcuts, but stuffing and thread still cost money. I’d sell them in coordinated pairs rather than price one tiny star so low that the labor disappears.
5. Felt initial ornaments
Use thicker felt, embroidery floss and a paper template for block letters. Cut two matching shapes and stitch them together with a small amount of filling. Add a hanging loop before closing the seam.
Keep the alphabet style simple. A delicate script letter with narrow parts is more likely to stretch or tear. If a family orders four different initials, check the spelling in writing before cutting anything.
6. Clear-fill snow-scene ornaments
Put a small amount of faux snow and a tiny original paper tree inside a fillable ornament. Secure the cap, tie a ribbon and photograph the finished ornament against a plain background so the details are visible.
Plastic blanks are usually easier to ship than glass, though they can scratch. Avoid loose small decorations for items intended for young children, and make sure the cap stays firmly attached. The cheapest fill material isn’t useful if it leaks out in a customer’s gift bag.
7. Macramé snowflake ornaments
Cotton cord and a simple knot pattern are enough for small hanging snowflakes. Cut the lengths before starting, use a board to keep the pattern even, then trim the ends with sharp scissors.
This one is worthwhile only if you already know a few knots. Otherwise you’ll spend too much time untangling your samples. A set of two or three may appeal more to buyers than an individual ornament with a high price caused by your learning time.
8. Painted wooden bead ornaments
Thread unfinished wooden beads onto sturdy cord, add one painted bead or a short original word tag, and knot the hanging loop securely. Work out the exact bead count before cutting cord for a batch.
Keep the design restrained. Adding five different charms to every piece raises costs and can make the ornaments look crowded. They’re decorative items with small components; avoid marketing them as toys, and check the applicable rules if you’re selling anything meant for children.
9. Personalized pet portrait ornaments
If you can draw animals, offer a simple pet sketch on a flat wooden or clay ornament. Ask the buyer for a clear photo showing the face and markings, and agree on the number of pets before quoting.
I’d start with one pet per ornament and one drawing style. Detailed fur portraits can take an hour or more, so this belongs in a higher-priced custom group. Get permission to use the customer’s pet photo and don’t put their image in your listing gallery without consent.
10. Photo-frame ornaments
Make small hanging frames from unfinished wood blanks, cardstock backing or a stitched fabric border. Leave an opening for a standard-size photo, or ask the buyer to provide the image for printing.
The biggest challenge is fit. Test the photo opening with a real print so customers aren’t cutting off heads to squeeze a picture inside. Offer a blank-frame version for people who want to insert their own photo at home. It reduces printing and privacy hassles.
Christmas decor that works better at a local craft fair
11. Small grapevine wreaths
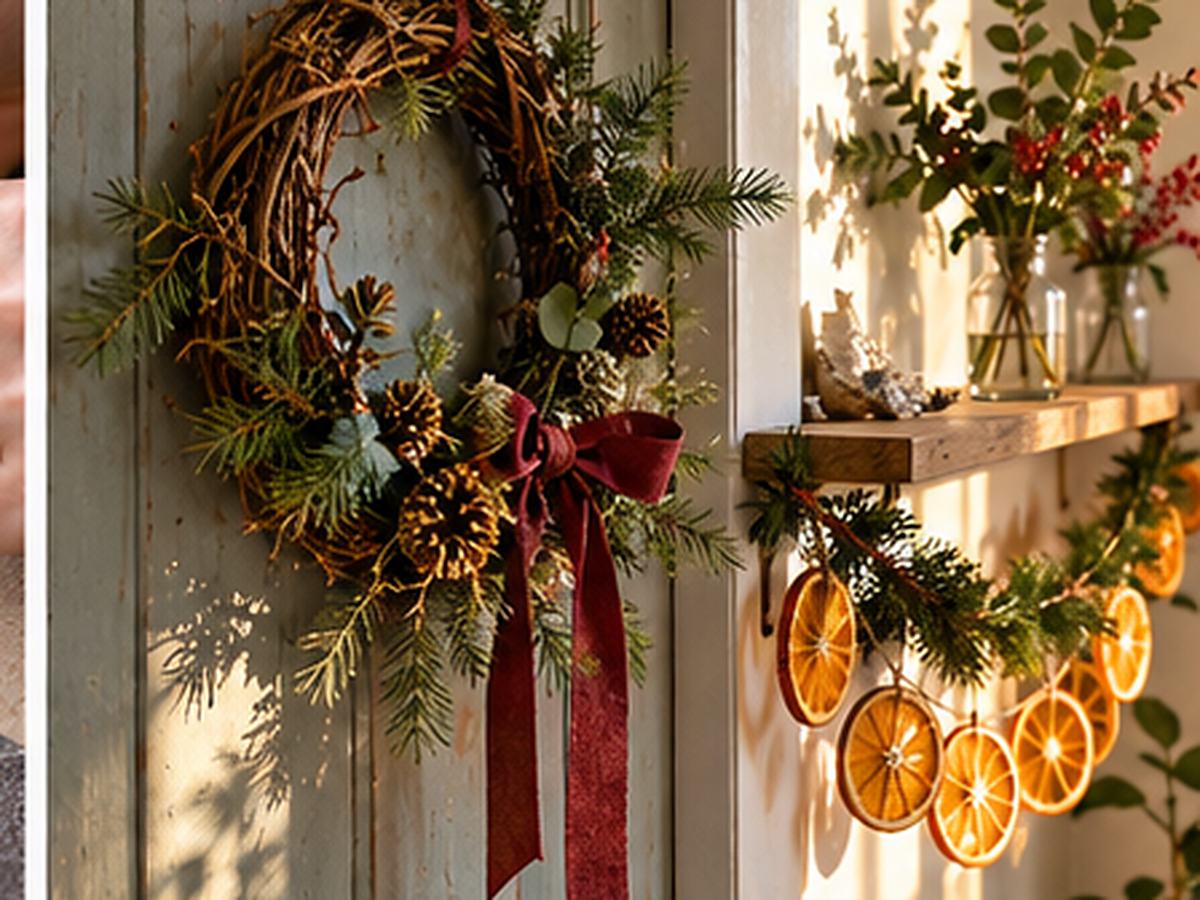
Start with mini grapevine bases and add a narrow ribbon plus a few wired faux pine sprigs. Keep each wreath small enough to fit on an interior door, chair back or cabinet handle. Hide sharp wire ends at the rear.
I’d sell these at a market where people can see their size in person. Full-size wreaths cost more to package and ship, and the entry-level price often doesn’t leave room for the extra work.
12. Dried orange slice garlands
Slice oranges evenly and dry them thoroughly in a low oven or food dehydrator, following a reliable drying method. Once the slices are completely dry and cool, thread them onto cotton cord with space between them.
They have a nice natural look, but damp centers can mold during storage. Make a test strand well ahead of the event, and don’t promise buyers they’ll stay perfect for years. Package each garland dry, clearly as decor rather than food.
13. Pinecone door swags
Tie a small cluster of clean, fully dried pinecones to a ribbon and add a modest bit of evergreen-style faux foliage. Use a strong hanging loop so the piece doesn’t drop when someone opens the door.
Gathering pinecones can lower supply costs where collection is permitted. You still need to clean and dry them, and some will be damaged. I’d avoid collecting from protected areas or treating found pinecones with chemicals you can’t identify.
14. Felt ball garlands
Thread wool-blend felt balls onto sturdy cord in two or three colors, then knot the ends and attach a hanging loop. Sell a specific finished length so buyers know where it will fit.
This is easy to batch once you have the materials, but felt balls can be costly when bought in tiny packs. Compare larger packs by the number you’ll actually use. Keep loose balls away from young children; decorative garlands containing small parts need careful handling and appropriate product information.
15. Hand-sewn tabletop felt trees
Cut identical felt triangles, sew pairs together, fill lightly and attach them to a stable base. A group of three in different heights can make a small mantel or shelf display.
I would keep the branches plain instead of gluing lots of tiny buttons onto the trees. That saves time and avoids loose components. Test whether the display stays upright on an uneven shelf before selling it.
16. Painted wooden block village houses
Use clean, sanded wood offcuts cut into simple house shapes. Paint doors and windows using your own design, and finish the back so customers can display either side.
This is a good project if you already have woodworking tools. Someone starting from zero shouldn’t buy a saw to make ten little houses. Grouping three blocks into a village set can make the item easier to display and price.
17. Mason-jar faux-snow lanterns
Fill a clean jar with a little faux snow and place a battery-operated LED tealight inside. Tie a ribbon around the outer neck, keeping it away from the lid opening. Make sure customers can open the jar to replace the battery.
Use flameless lights only. The U.S. Fire Administration recommends keeping lit candles at least 12 inches from burnable materials. A jar full of faux snow and plastic greenery is the wrong place for an open flame.
18. Fabric Christmas bunting
Cut triangles or simple pennant shapes from washable cotton, then sew or bind them to a length of bias tape. Two or three repeating fabrics look better than using every scrap in the basket.
People need to know the finished length and how to hang it. Photograph one strand above a small shelf with a ruler in the second image. I’d make this to order if I had limited space to store long garlands.
19. Ribbon-wrapped napkin rings
Wrap short sections of smooth cardboard tube or wooden napkin-ring blanks with fabric ribbon, securing the ends neatly inside. Use the same design for sets of four or six so buyers can use them at a dinner table.
The labor is repetitive, which helps. But an uneven seam inside the ring can catch on napkins. Run a folded cloth through each finished piece before bagging it.
20. Tiny stocking utensil holders
Sew small felt stockings sized to hold a fork and spoon, with a simple cuff and one stitched snowflake. They work as seasonal table settings and don’t need personalized names.
Sell them as sets of four or six. Cut the pieces with one template so the stockings look the same, and check the opening size with real utensils. This is a decent craft-fair item, though sewing eight seams per piece can eat up more time than you’d expect.
Useful handmade gifts people can keep using
21. Reusable drawstring gift bags
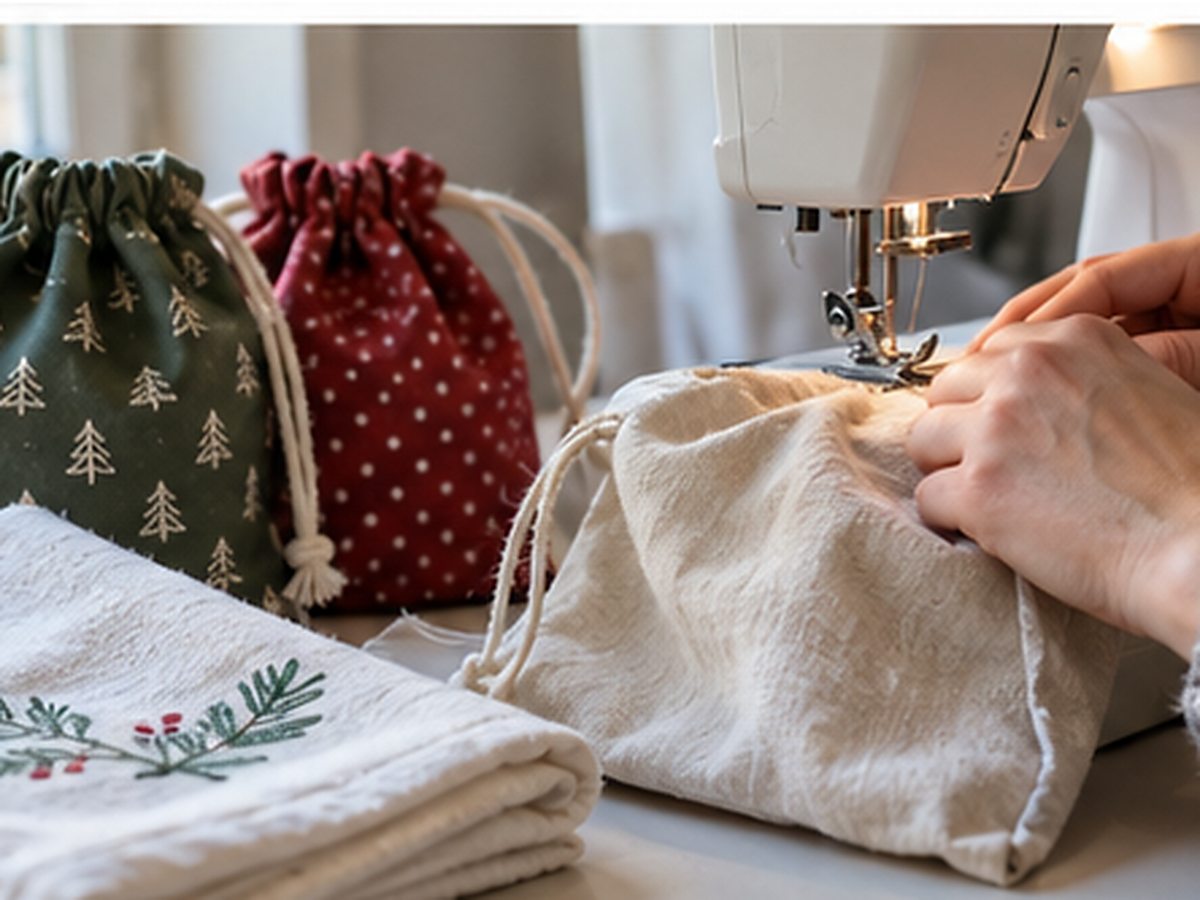
Sew rectangles of cotton into simple pouches and run a cord through the top casing. Offer two practical sizes: one for small gifts such as a mug and one for books or folded clothing.
I like this better than another shelf decoration because buyers can reuse it every Christmas. But measure carefully. A bag that looks generous lying flat may be too narrow for the gift someone wanted to put inside.
22. Embroidered holiday tea towels
Buy plain flour-sack towels and add a small original pine branch, star or simple monogram near a corner. Prewash and press the fabric if the embroidery method calls for it.
Your stitching should survive laundering, so test one towel before making a batch. I’d keep the motif small, leaving most of the towel useful for drying dishes. Large stitched panels can feel stiff and take ages to complete.
23. Hand-stamped kitchen towels
A fabric-safe ink and a simple carved stamp can turn plain cotton towels into a coordinated pair. Wash and dry the sample according to the ink manufacturer’s instructions, especially if the print needs heat-setting.
The design has to hold up after washing. Don’t sell a towel based on how nice the first print looks before testing it. This is a better choice for someone who already owns stamps than a beginner buying an entire printing setup for one holiday market.
24. Crocheted mug sleeves
Crochet a short sleeve that fits around an ordinary straight-sided mug, leaving the handle free. Use a repeatable stitch pattern and measure the finished circumference rather than guessing from the yarn label.
Buyers often appreciate being able to wash the sleeve. Include care instructions and take photos on a mug, then sell the sleeve alone unless your pricing includes the mug. Avoid covering hot surfaces that may create a burn risk; test fit before offering these.
25. Felt coaster sets
Cut thick felt into matching circles or squares, stitch around the edge and bundle four pieces with a paper band. Use a template so the coasters sit flat and look like one set.
This is good for leftover felt, though thin craft felt won’t protect a table very well. Try a cold glass on the sample and check whether moisture gets through. Buyers should know what materials they’re getting.
26. Fabric bow hair clips
Sew or fold cotton fabric into small bows and attach them securely to quality metal clips. Finish the back neatly so glue or stitching doesn’t catch hair.
Keep the size consistent, and don’t market a delicate clip as safe for babies. The CPSC’s small-parts guidance explains rules for children’s products, and handmade sellers still need to follow applicable safety requirements. I’d focus on adult accessories or older users until I knew the rules for children’s items.
27. Crocheted winter ear warmers
Use a stretchy stitch and offer a couple of clearly measured sizes. A wide band with a simple twist or knot detail takes less yarn than a hat and can be finished more quickly if you’re comfortable with crochet.
The problem is sizing. Make a sample, measure it flat and gently stretched, and include those measurements in the listing. I’d make these in neutral colors first and take custom color orders only when I knew the yarn was available.
28. Simple knitted dishcloth bundles
Knit square cotton dishcloths with a washable yarn and a sturdy stitch. Bundle two with a plain paper band and care instructions. Buyers often like receiving something useful at a small holiday price.
This is good for steady knitters, but slow knitters may struggle to cover their time. Time one dishcloth before setting the price. If it takes you three hours, you probably need a different craft for quick holiday income.
Paper crafts with low shipping weight
29. Original hand-printed Christmas card packs
Draw a simple winter scene or holiday greeting, transfer it to a stamp or print block, then make small sets of folded cards. Include matching envelopes and photograph the exact pack size.
I’d rather sell a set of six than single cards that need the same care and packing for a much smaller order. Allow time for ink to dry before stacking, and use your own illustrations instead of copying greeting-card artwork.
30. Block-printed gift tag sets
Cut gift tags from heavy paper, stamp an original tree or star motif on the front, and punch one hanging hole. Bundle a dozen tags with a short length of twine.
Tags are fast to batch if you already have a paper cutter. The edges need to be straight, though. Cut the full stack first and stamp afterward so the shapes stay consistent. I’d make these as add-on purchases at markets, where a customer is already buying an ornament or gift bag.
31. Personalized return-address labels
Design a clean holiday border and print sheets of labels with the customer’s supplied name and address. Offer two fonts and a few original small motifs, so orders don’t become full design projects.
Check the label-sheet dimensions before taking payment. A misaligned printer wastes an entire sheet quickly. This also involves personal addresses: confirm the spelling privately and delete customer information when you no longer need it.
32. Family Advent activity cards
Create a deck of 24 original activity cards with short ideas such as "read together by the tree" or "look at neighborhood lights." Print on thick paper and pack in a reusable envelope.
This product needs to be listed early enough to reach buyers before December 1. If it’s already late November, I’d switch to an undated winter activity deck rather than promise a timely Advent delivery. Make the activities cheap to do, so the buyer doesn’t end up funding 24 extra outings.
33. Hand-decorated Christmas money envelopes
Fold sturdy patterned paper into envelopes sized for cash or gift cards, then add an original stamped design and a blank name area. Sell them in coordinated sets of three or five.
Test an actual bill or standard gift card before cutting a batch. An envelope that’s half an inch too small is scrap paper. Keep the front simple enough that buyers can write the recipient’s name clearly.
34. Personalized recipe card packs
Lay out recipe cards with generous writing space, readable text and a small seasonal border. Print sets of 12 or 24 on sturdy cardstock. Offer a family-name header only if you can process the order without a lot of back-and-forth.
This works for people who can use design software and a printer already. Paper thickness, trimming and ink costs decide whether it makes sense. I’d sell a finished physical pack at a market, or an original downloadable file online if it meets the platform’s design rules.
35. Make-your-own ornament kits
Pack unfinished wooden shapes, pre-cut ribbon and a small card with your own step-by-step instructions. Leave paint or markers out unless you can package them properly and follow any relevant product-safety rules.
This can work for holiday craft nights, but the components matter. If you’re marketing a kit for children, check age and small-parts rules first. Take a photo of everything in the kit laid flat so buyers know exactly what they’ll receive.
Price the craft before buying twenty more blanks
Here’s the part I would do on paper. Say a handmade ornament sells online for $20 with shipping included. Your blank, paint and ribbon cost $4, the box and padding cost $1, postage costs $5, and your 20 minutes of work is worth $4 at $12 an hour.
For a U.S. Etsy sale, its seller fees currently include a $0.20 listing fee, a 6.5% transaction fee and Etsy Payments processing of 3% plus $0.25. On that $20 sale, those basic fees come to $2.35. After materials, packing, postage and the value of your time, you’d have about $3.65 left before taxes, advertising or other expenses.
I would redesign or reprice that ornament before scaling it.
If the same ornament sells for local pickup at $20, you avoid postage and the online marketplace charges, though you still spend time arranging the handoff. That difference is why I’d start with small local orders when testing a new craft.
A simple cost notebook needs only these details:
| What to record | Example for one ornament |
|---|---|
| Selling price | $20 |
| Materials | $4 |
| Packing | $1 |
| Postage | $5 |
| Value of 20 minutes of work | $4 |
| Basic Etsy fees | $2.35 |
| Left before other costs | $3.65 |
Etsy may also charge a one-time shop setup fee, and its Offsite Ads program can add selling costs. Check your account’s current fees before you post a full collection. Check current supply prices, especially if you buy small packs.
What I’d make for a first craft fair table
Choose three products that share materials. One sensible combination is hand-lettered wood-slice ornaments, simple wooden bead ornaments and matching gift tags. You can photograph them together without buying separate equipment for every product.
Make three samples of each, then another few pieces only if people actually want them. Keep one sample out of its packaging so buyers can inspect the finish. Make the rest neatly packed, with the price plainly visible.
I’d avoid filling a six-foot table with 70 different items. A small display with good lighting and clear prices is much easier to manage when you’re working alone.
Photos, deadlines and where to sell
For online listings, put one finished product on a plain background, then photograph it in use. Show a ruler or familiar object for scale in another photo. Take a close-up of the back, the hanging loop or the seam. Buyers want to know what the object looks like from every side.
If you’re using Etsy, check its creativity rules. Physical handmade products need genuine seller involvement, and listings should use photos of the actual finished pieces. Local markets are often better for larger wreaths and jars; ornaments and paper goods are much easier to mail.
Set a cutoff date for custom orders. The USPS holiday shipping guidance for 2026 recommends mailing Ground Advantage parcels in the lower 48 states by December 17 for expected delivery before Christmas, with Priority Mail by December 18. Those are carrier recommendations, so build in days for making, packing and unexpected delays. I would stop accepting shipped custom orders well before the last postal date.
For local pickup, give buyers a specific collection window and tell them how payment works. Don’t put an address in public comments or accept strange requests involving payment codes or overpayments.
Keep your designs and supplies on the safe side
Use original artwork and phrases you have the right to sell. A craft pattern bought for personal use doesn’t always include commercial permission, and a famous character or team logo can bring trademark or copyright problems. Etsy’s creativity standards make clear that the seller has to be involved in the creation and follow the marketplace rules.
If you sell candles, bath products, children’s toys or anything that touches food, additional rules can apply. I left handmade burning candles off this list because testing and labeling them safely is more work than beginners expect. The CPSC has guidance for children’s products and small parts, while the U.S. Fire Administration provides candle fire precautions.
Keep receipts for supplies and records of what you sell. The IRS explains that a money-making craft activity can have tax consequences depending on whether it’s a hobby or business. A qualified tax professional can help with your circumstances.
Questions I’d settle before making more stock
Which Christmas crafts are easiest for beginners to sell?
I’d start with original hand-lettered wood ornaments, simple fabric gift bags or stamped gift tags if you already have the supplies. You can make a few samples without buying expensive machinery. Learn one method well before offering detailed custom work.
What should I sell at a holiday craft fair?
Small ornaments, gift tag packs, fabric gifts and simple tabletop decor work well as a mixed starting table. Bring clear prices and enough packaging for people to take items home. Check the event’s vendor fee before signing up, because a $75 table can wipe out the margin on a small batch.
Can I make Christmas crafts with Dollar Tree supplies?
Some blanks, ribbons and gift bags may be available there, but packs can vary and the cheapest piece isn’t always the best buy. Compare cost per finished craft with craft stores or bulk suppliers, including anything that breaks during assembly. I would buy a few samples first.
How soon should I start selling Christmas crafts?
For shipped personalized items, start well before December and leave time for production, customer approval and postal delays. Local craft fairs can take orders closer to Christmas if your supplies and schedule are ready. If you haven’t begun until the final week, focus on ready-made pieces for local pickup.
Make three samples before the weekend
Pick one idea you can finish with tools you own. Write down how much the supplies cost, set a timer while you make three, and photograph the best finished sample in daylight. Put the sample in front of real buyers before buying supplies for the next twenty.
For other ways to build your holiday fund, see our 23 ways to make extra money before Christmas.